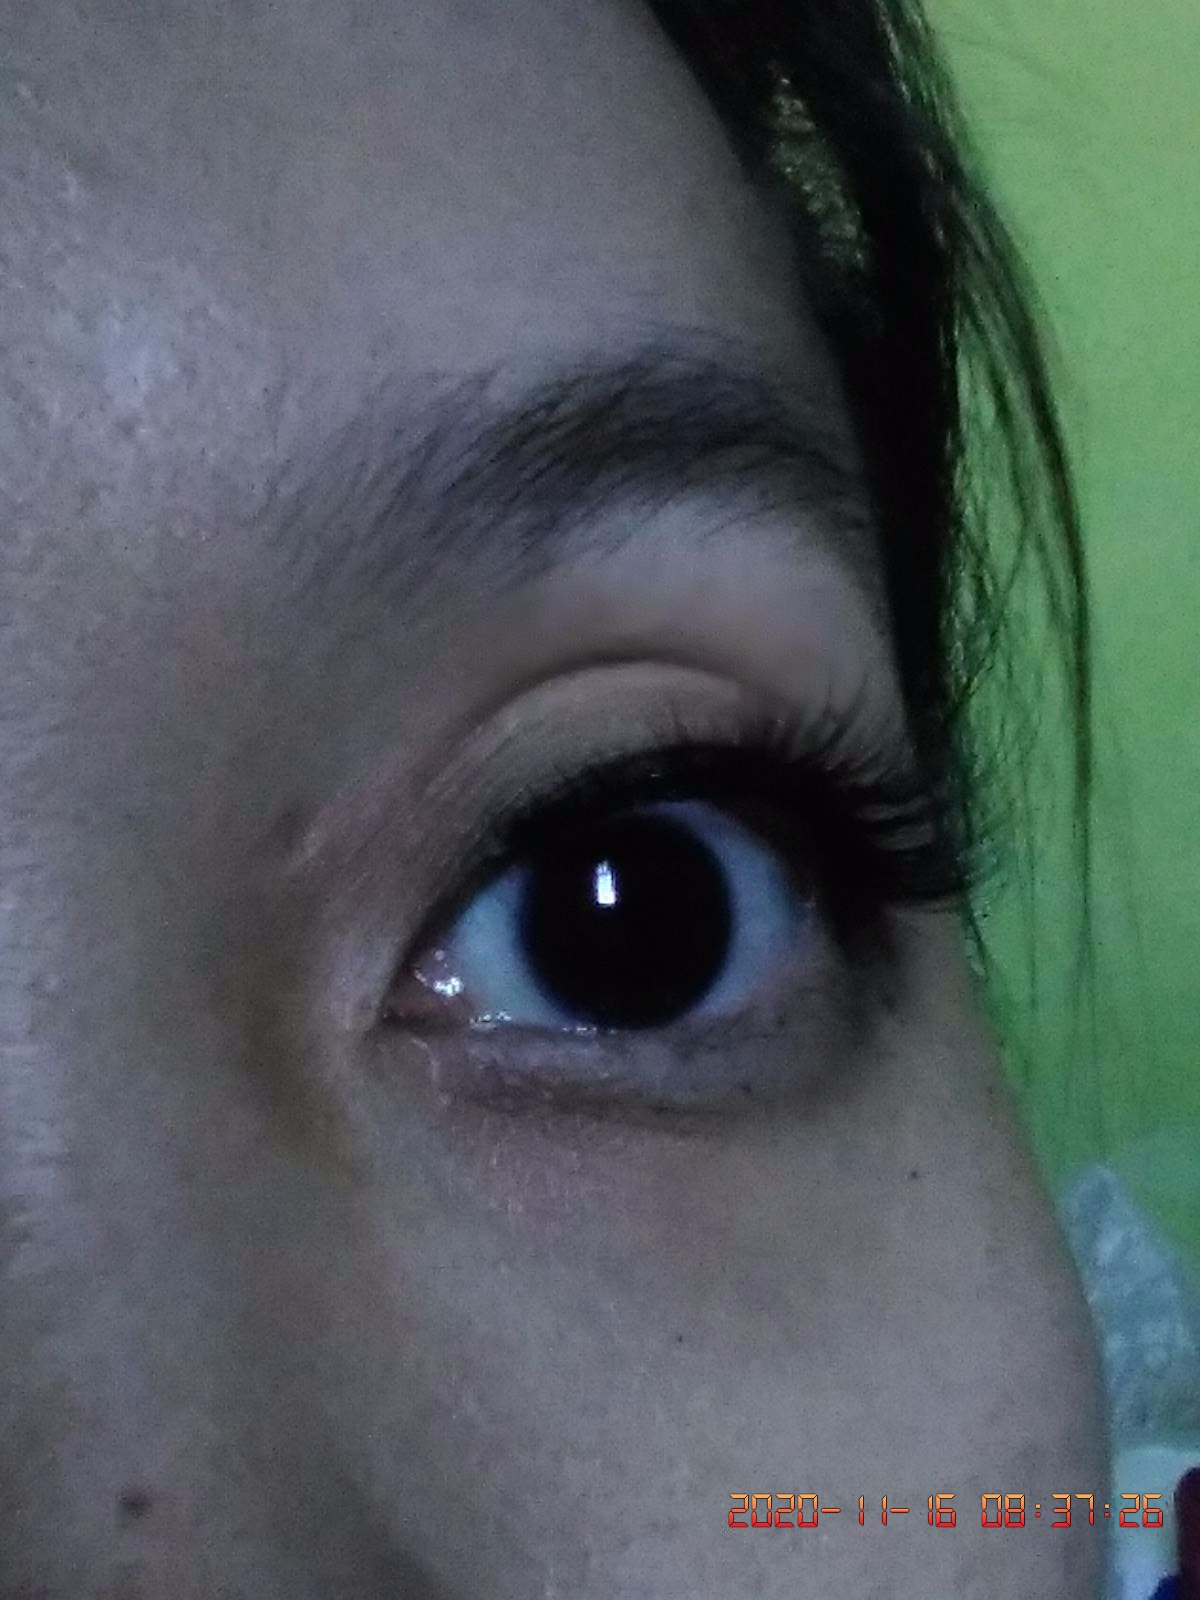
I have bought a new toy for myself. Seems like a good timing since we are having a "partial lock-down" and working from home. More time for myself.
Here's how they look.
There are many brands out there. I simply chosen 1 from Shopee. My criteria of choosing were:
1. Ready stock / local seller, as I don't want to wait too long.. excited to try them out.
2. Lowest price but comes with the pink colour double-layer storage container (as it holds 2 pair in a container, I assume it would be easier to store) and the applicator (which I thought would be very helpful in applying it to the eyelid).
Besides the set, I have bought another brand / design of eyelashes as you can see they are lying in the silver box. This should be cheaper but since I don't want to receive many parcels, so I just ordered 1 from the same seller. Although she is selling a lil more pricier than others, but still acceptable for me.
COMPARISON OF LASHES
The two types are not really the same.
As you can see from the photo, the top one is from the pink container, while the other 4 are from this silver container.
The pink one is obviously shorter (about 1cm), but fits just nice on the applicator. It only able to cover 2/3 to 4/5 of my eye, leaving the head of my eye not covered is looking more natural than leaving the end not covered.
The silver ones are harder and looks like cheap plastics, like something that I would never put on.
But surprisingly, they fit better, covering the whole eye.
You might not believe that I manually fitting these silver ones on my lid using my hands, without the applicator. Using the hands allow me to adjust them and push them nearer to the root of my eyelashes, giving a more natural look rather than using the applicator, leaving 2-3mm away from the roots. They might look fine from far or with the thicker eyeliners on.
There is one more difference that make it different in price is the number of magnet.
The pink one come with only 2 magnets while the silver one comes with 3.
I saw other seller that sells with 4 magnets. Unfortunately this seller doesn't have it, so I couldn't try them out and tell you. There are some with 5 magnets now in the market but they are of different type. They are cut into several pieces instead of 1.
Does the number of magnet make any difference?
Yes. If you are using the applicator, I think 2 magnet is fine. 3 magnet would be a little troublesome.
However, if you are using hand like me... I feel 3 magnet is better as they follow the curves of your eyes and stay in place better. Anyway, all works well.
COMPARISON OF THE CONTAINERS
I think I have to include this, then it would help you to understand why are there difference in price.
The pink one, as mentioned earlier has 2 layers, and holds 2 pairs of eyelashes. It also comes with an acceptable quality of mirror. There are magnetic stripes on the plastic covers to hold those lashes in place.
While the silver one, actually looks not bad. Good quality of plastic and the transparent lid is kinda magnifying glass effect. What I don't like about it is the silver colour thingy is actually just a piece of card (thick paper) and the magnet looked-like stripes.... are more like a double sided tape for me. It is possible to keep 2-3 pairs in a container, you just need to intact the same sides together, keeping 2 by 2 but I just don't really like this case.
The pink one, I prefer.
WEIGHT / SECURITY / DURABILITY / COMFORTABILITY
Both are considered light weight to me and yes, they are very secured.
Something that I could wear whole day long.
But if you ask me whether I would wear it for days or months as advertised... the answer is definitely not. I'm unable to close my eyes (like I'm sleeping). The plastic lines might poked into my eyes (head) and the pain is totally unbearable. Tears dropping is guaranteed. However, blinking your eyes like you are putting on the glue type eyelashes, they are pretty much the same. Maybe I should trim it a little bit.
Blocking your sight a little bit like glue type?
Yes, they do.
Did I feel the magnetic pieces? Do they cause any uncomfortable feel?
Not at all. I couldn't feel them at all.
Unlike the glue type, I always feel the glue is there.
Did I feel the weight?
They are really light weight. But I believe it do relate to the type of lashes you are using. For glue type, I normally wear at least 2 layers of the thinnest one.
For this magnetic type, the thinnest one was out of stock. I have yet to try them out.
The silver container one is the thinnest I could get now (but they are not the thinnest available in the market). They are a little too dense for daily use as I'm really looking for a more natural look. Only the mascara is good to go.
Are they so durable and last for a year / month?
It depends on how gentle you are and how skillful are you.
One of the magnet fallen off after 1 day of practice (more than 30 times) but I managed to glue it back.
Make sure that you check the direction if you were to glue it.
I personally feel that they are durable enough and definitely not for one time use.
The glue type or the magnetic type I prefer?
Of course, the magnetic type. I hardly get the glue on one comfortably. If I do, they just like peeling off here or there and how annoying would it be if you were outside, and couldn't get them back in place in the washroom. You know my frustration. This magnetic one... they are just so secured. Won't fall at all if you don't rub your eyes. If it does and you have no time to take care of it, just rub them a bit and remove them, keep them in the container and continue enjoy the day.
LEVEL OF DIFFICULTY IN HANDLING
Do they sounds as easy as advertised?
I am not sure. Definitely not for me.
I hereby sharing the evil advertisement that make me dip my "finger" in this magnetic eyelashes.
Impressive, huh? How could I not attracted?
If you are using it for the first time, much practice is definitely needed. I have practiced more than 100 times and in the end I personally finding using my fingers are easier than using the applicator as I mentioned earlier. It gives me more flexibility to nicely fit it near the roots. Again, very much practice needed. This is basically how it works.
Will I recommend this to you?
If you love false eyelashes, having problem with the glue type and have a little patient to practice this... why not? Give it a try. Once they are on, you would love them! As pretty as the glue type but more comfortable and secure.
THE RESULTS
I believe this the most awaited moment!
I have put them on and here are the results.
This one just with the mascara on. No false eyelash applied.
These are with one of the set in pink container. I call it upper layer (U) as they sits on the upper layer.
These are with one of the set in pink container. I call it bottom layer (B) as they sits on the lower layer.

Side by side comparison for the pink set. Which one more into your preference?
If you are buying the set, you get both.
If you are buying them separately, see the next photo.
On the left is U while the right one with white lighting is B.
For both photos, from top is the effect of two layers intact; in the middle is upper layer and the bottom is lower layer. B is volumized at the end of the eyes.
These are from the silver container which I really love them. They looks a bit dramatic in photo but I personally feel them most comfortable. I just love them! This is the pair I can't resist wearing whole day despite that I'm just WFH.
TIPS TO INCREASE RATE OF SUCCESSFinally, I am going to share some tips with you to help you get them on more successfully.
I dare not call them fool-proof hacks or something like that as I mentioned, this requires practice and some skills. If you are totally a beginner or a noob in make-up... I wish you a success LOL!
Check these out if you are having problem to put on your magnetic eyelashes perfectly.
Tips 1 - Apply eyeliner
This is not a must but it does help your magnetic eyelashes to camouflage better.
If you are unable to get them close to the root, apply thicker eyeliner to cover the gaps and I would like to advice you to apply the eyeliner first before applying mascara or attaching the magnetic eyelashes.
Tips 2 - Apply mascara
If you are having very thin eyelashes, apply some mascara before fitting these magnetic eyelashes. It helps provide more gripping area hence helps them to hold more securely. This also would help your magnetic eyelashes (with only 2 magnets) to have a nice shape, following your natural eyelashes.
Some claims that the false eyelashes don't stay very near to the root, making the lines (roots of the false eyelashes) visible, or the false eyelashes looks separated... you may try to apply a layer of mascara to hold them together. I did not do so as I do not want to dirty them and they looks natural enough for me.
Tips 3 - Make sure you hold the applicator in the correct direction if you are using one.
See photo. Your thumb should be at the bottom.
Tips 4 - Magnet facing correct directions
Make sure that you are placing the magnets facing inside
(the center, where they are going to meet / contact) or in other words, facing each other.
They are so tiny! So, open your eyes wide!
Some brands don't have this problem but most of the brands seems like having this problem.
I see some buyers / users claimed that they just don't stick to each other! If you are facing the same, try to switch their position. The top one goes down and the bottom one on top this time. See would it solve your problem.
Tips 5 - Finding the head (inside) and the tail (outside)
Try it out. The universal rule should be the shorter one should be inside, nearest to your nose. But due to different lashes, face shapes, and preferences... some people feels the other way round suit them better, makes them look better. Either way should be fine as long as you like it. Try them out and see which effect you like.
Tips 6 - How to use hands
Practice! I would hold 1 piece in each hand, measure the upper one to get the position I want, place them on the real eyelashes. The other hand, I will pinch the tip of eyelashes (I prefer start from inner, near to nose) and use other fingers to block the rest of it, making sure the magnets don't cling into their partner when moving them near. One hand making sure the upper (inner) part is pushed to the root as near as possible while the other hand just move the lower lashes nearer and you will hear / feel them attaching to each other. If you are satisfy with that, move on with the next pair of magnet. If you don't, please don't be panic! Don't pull them! Hold on to the magnet and rub to separate them.
Tips 7 - Do not pull! Rub to remove.
As mention in Tips 6. Do not pull but rub instead. Many have painful experience trying to pull them off. I just wish you would never be one of them. Rub them gently either left-right or in circular motion. They will just be separated. Then, block with your fingers to avoid them from going back together.
Tips 8 - Patient
This is the last but a very important tips indeed for you. Be patient, don't panic, don't give up <3
This will make me never believe in any beauty hack that can help me get pretty in no effort.
Practice makes perfect!
Yes, they are more handy, more comfortable, more durable than the glue type.